Wednesday 31 October 2012

October Review

I thought I would start doing a little monthly review to tell you about a few things I couldn't devote an entire post to, and also to recap my favourite blog posts from the month. So here's what's been going on...

In life ... 

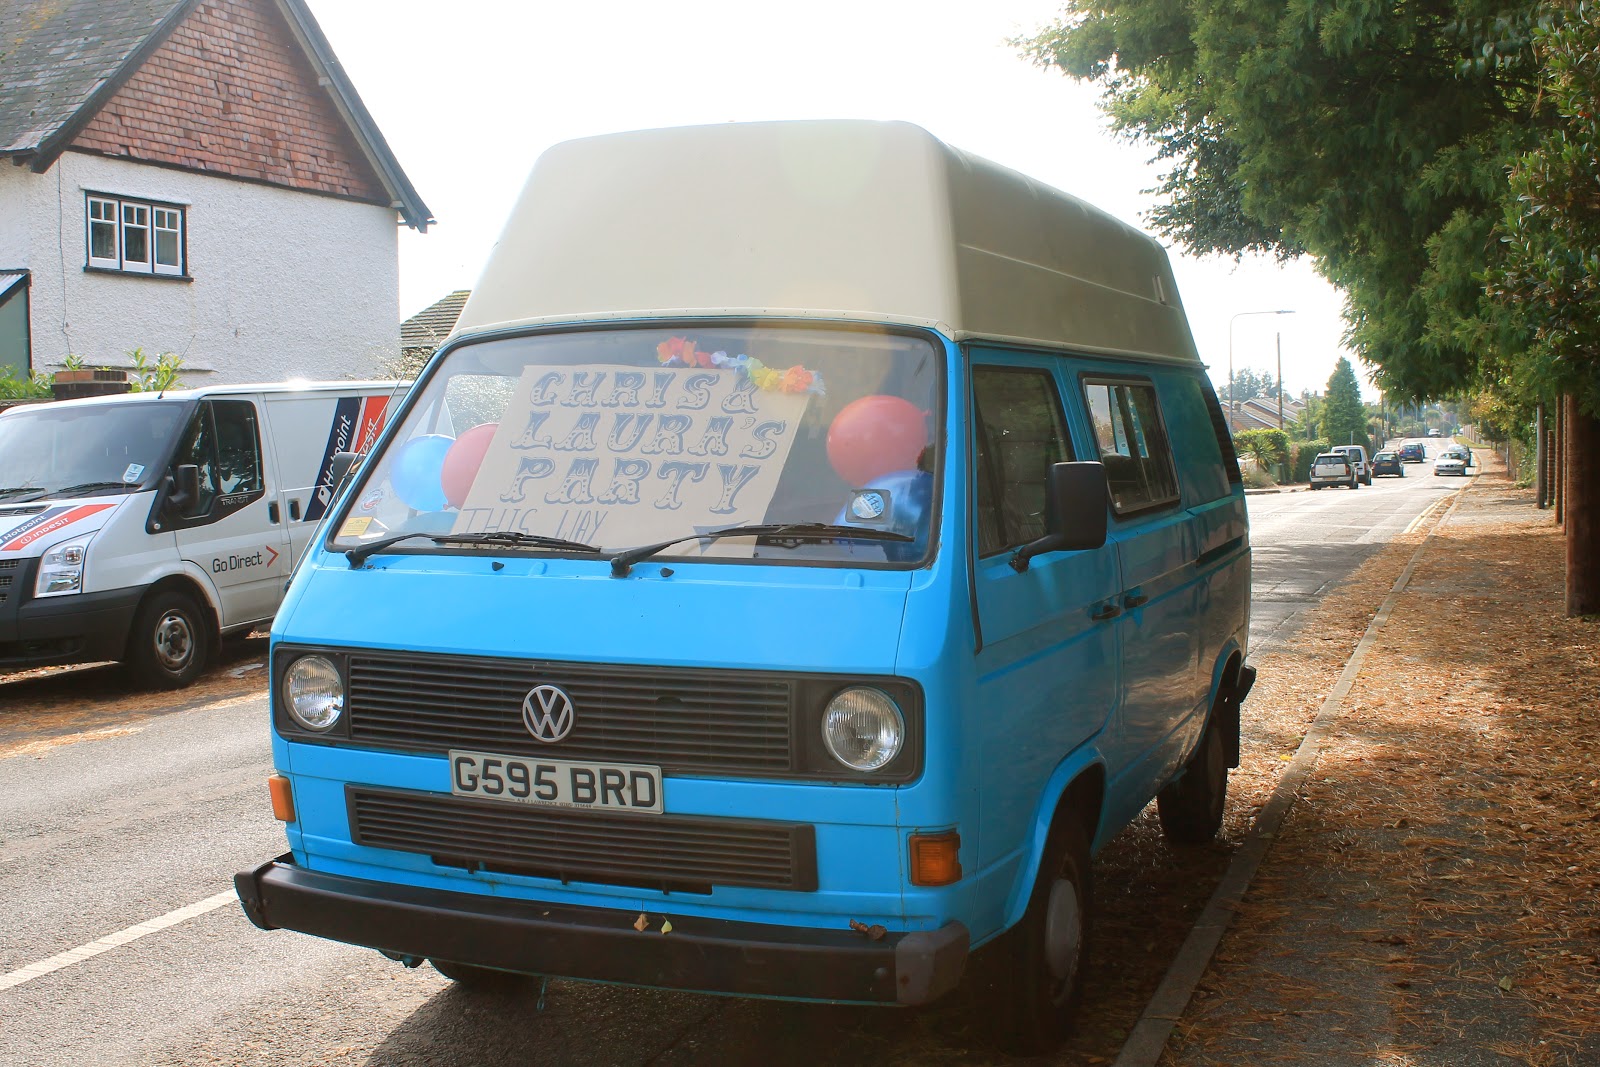
Chris and I celebrated out Engagement on the 7th with a mahoosive party! We had a brilliant time.

Chris and I started up our 'date nights' on thursdays again.  So far we have had a 'Red Dwarf' themed evening, complete with holographic H's to wear on our heads, a pumkin carving evening, and last week Chris took me to see Great Expectations at the Mayflower. It was great!

We went with Chris's sister and her boyfriend to see our friends in 'Loserville'. This is a brilliant musical showing at the Garrick theatre in London. The song's are written by James Bourne of Busted and Son Of Dork.  Our friends are the guitarists in the band (If you go you must scream and wave your arms madly when they come on the stage) who managed to get our names onto the guestlist for a gig where they played in the band with James Bourne and played several of his past hits with Son of Dork and Busted! It was pretty cool! They're kind of a big deal...


What we watched...

This month has been soo good for TV. So many brilliant series' have re-started... Dexter, Red Dwarf and our favourite Walking dead! Homeland and Once Upon a Time have also apparently back on, but we have been so busy finishing Breaking Bad and all of the above that we haven't had enough time to check them out yet!  

We went to see 'Resident Evil: Retribution' after having watched the first 4 movies in quick succession. I thought it was pretty good and I think Chris enjoyed it too!

In blog land... 

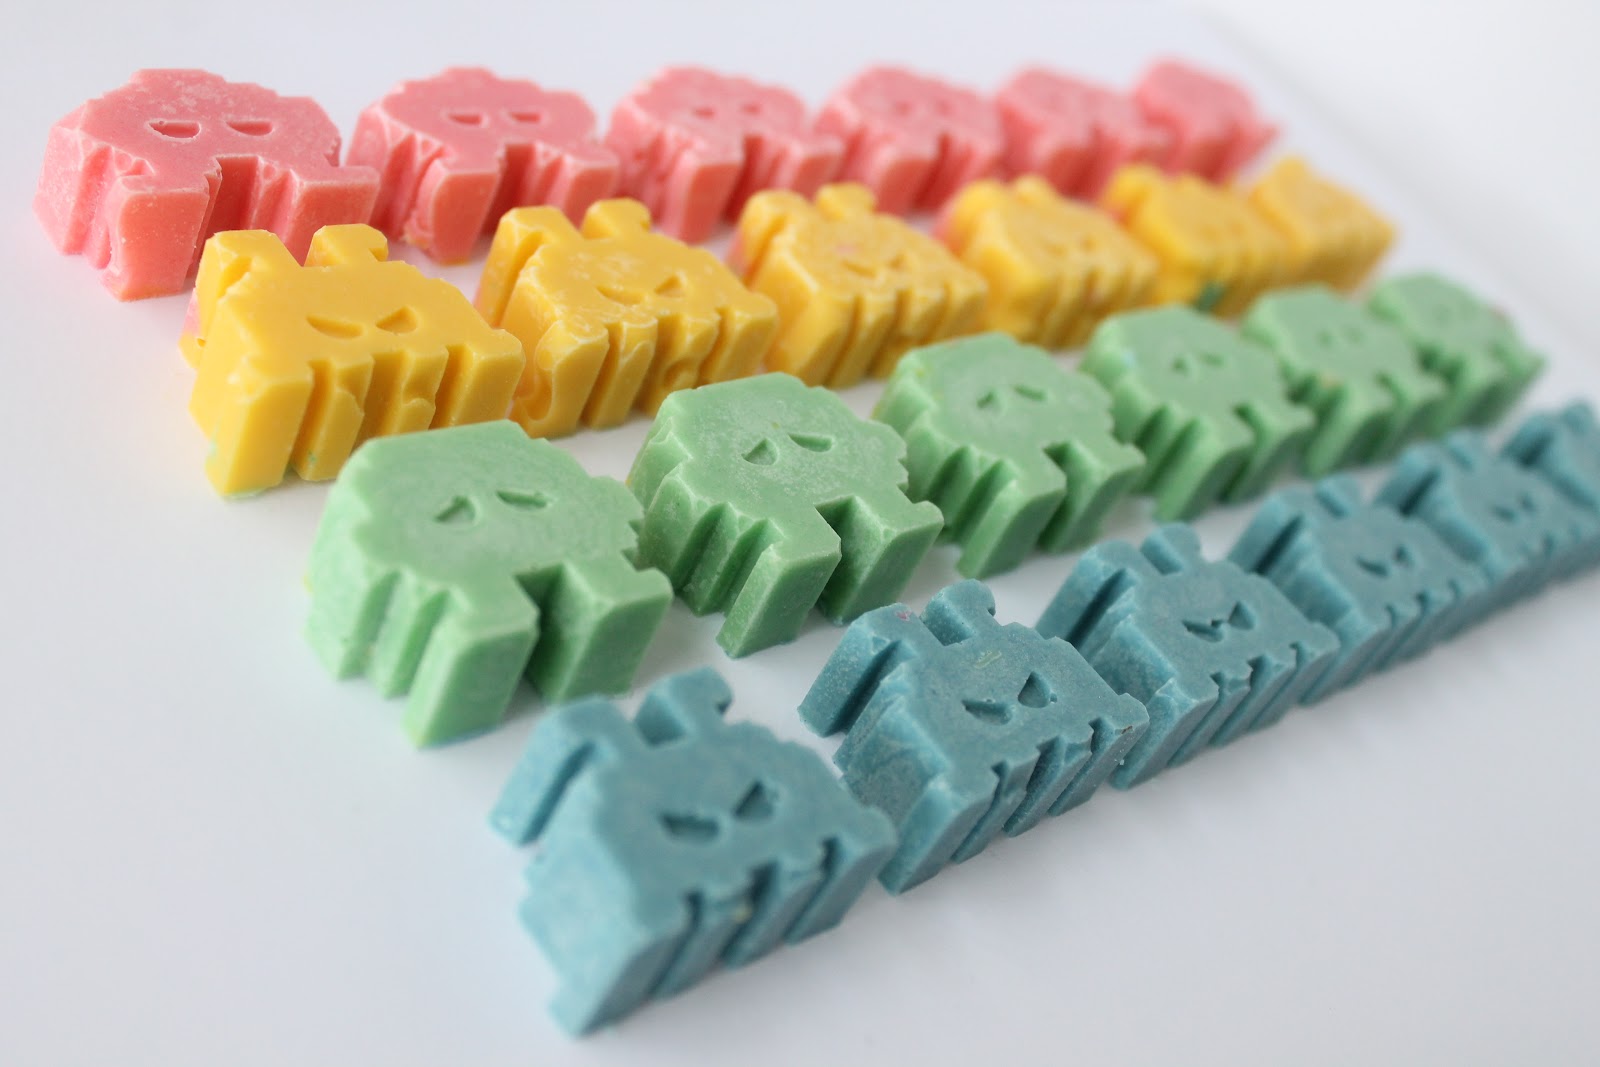
I feel I have started a new chapter with the blog this month. You may have noticed that we have had a little overhall of the design, and I am really pleased with it. Chris helped me make it exactly what I wanted. I have also gotten a lot more organised with planning my posts. I am hoping this will mean posting more often and better quality posts too! I'm looking to connect with other like minded bloggers, so please get in contact if you would like to work together in one way or another, or just to say hello!

My favourite posts...


Laura xXx
Read More

Monday 29 October 2012

Our Engagement Party

I thought I had better share some photos of our engagement party before they are seriously out of date. Unfortunately we got so caught up in all the fun, we forgot to take pictures! There were so many little things that would have made brilliant photos, and I am a bit gutted that I didn't plan ahead and take some before the party started. Never mind, you live and learn!

Luckily my Dad had the forethought to go and take a picture of Pip, who was doing a very good job at directing the partygoers to the house!
This is a beautiful edible rainbow which our parents planned in secret! My Dad had made a wooden, rainbow shaped food platter out of off cuts of pip. I was wondering for a while why there was a ramp on the table! Take note, at the end of the rainbow there is a pot of gold! You can just about see my rainbow cupcakes on the right there. I had a bit of a disaster when all of their bottoms fell off, but I made it work!
Chris' sister Rosie made us some personalised cocktails which were offered to all of the guests. I am so annoyed I didn't get a picture of them, they had umbrellas and everything!
Chris decided we had to play rounders! Unfortunately I wasn't really dressed for it, so I had to sit out this time.
We didn't realise this was going to happen, but we were summoned to cut the cake, and everyone gathered to watch! About 100 people! Chris' Dad and my Dad then made speeches. Totally unexpected and after 4 Lauracoladas I must admit I did wipe away a tear.
This picture really doesn't do the cake justice, but I don't have a better one at the moment. My mum made the whole thing, including the flower on top!
Our musical friends were very lovely and all pitched in to provide entertainment during the day/night. It was somewhat a superband as they had not all played together before, and some of them hadn't even met. They did a great job.
I had busied myself for weeks before the party making signs to go up around the house. You can see a few of them below.
We had a brilliant time, it just went way to fast! I guess it has prepared us a little for the big day though!

Laura xXx
Read More

Sunday 28 October 2012

A day in the life...

This weekend we said goodbye to the rotting pumpkins (perhaps we carved them a little early) and hopped in Pip to visit my parents. Pip is still not quite finished, and we thought it was time to get his cupboard doors fitted inside.
rotting pumpkins
Whilst my dad worked on Pip, my mum cooked us up a delicious lunch. We had the choice of pea and ham or leek and potato soup, and we each got a piece of bacon and a special 'cheese crisp' on the side.
cheese chips
To make the cheese crisp my mum just grated some cheese, then rolled it into 4 balls. We put it in the aga until they went golden brown. She then moulded them around a spoon while they were still hot so they took shape. I'm definitely going to use this trick in the future, I wonder if you could make the crisps pretty shapes too?!
leek and potato soup
Chris went with the Leek and Potato (above) whilst I went with the Pea and ham (below), very tasty indeed!
pea and ham soup
My mum and I spent the rest of Saturday trying to clear out the boxes at the back of their garage. It has all been there since they moved in, so we though it was time to go through the various toys, clothes, photographs and scrapbooks and throw out what wasn't needed. I finally let go of my 'Total Film' and 'Empire' magazines which I collected about 10 years ago...'sob'. I had about 2 years worth!

There was a lot of stuff we couldn't bear to throw away though, and it all got packed away for another time. Pip managed to get 2 new cupboard doors, and also a very important wall has gone up (albeit not a very big one), which Chris tirelessly made the template for using cardboard boxes and masking tape.

It's not been a very halloweeny halloween so far, but at least we got out pumpkins carved in time, and they definitely look scary! 

Laura xXx
Read More

Monday 22 October 2012

Colourful Chocolate

So you thought that chocolate only came in brown or white? Turns out you were wrong! Now you can make chocolates in any colour you like. Here's how...
space invaders chocolates
You will need;
  • White chocolate chips
  • Food Colouring
  • A saucepan
  • A pyrex dish that fits snugly on top of the saucepan
  • Chocolate mould or novelty ice cube tray. I used a space invaders one bought as a gift but you can find it here
  • A spoon, a knife and some water (if you want to get really pinickety)
space invaders chocolates
Directions

  • Melt the chocolate chips in the pyrex dish, on top of a simmering pan of water. 
  • Stir until they are all melted and there are no lumpy bits. 
  • Add your food colouring and give it another stir to make sure there are no streaks. 
  • Fill your mould/ice tray with your new colourful chocolate. I used a knife to make sure there weren't any air bubbles and that the chocolate was all the way to the edge of the molds. I also used it to flatten them all down and scrape of any excess chocolate (I may have licked the knife at this point). 
  • Then just put them in the fridge overnight, in the morning you should be able to pop them out quite neatly.
These cute little space invaders made an appearance at our engagement party, and they must have gone down well as they were all gone pretty early on! Although I have to say I am surprised people identified them as food, they look more like erasers than chocolate!
space invaders chocolates
I found that I managed to get 2 rows out of 2 bags of 100g chocolate chips. I did want to make more so I tried using a bar of normal white chocolate. It didn't really work, you can see the result below. The colour didn't spread properly and instead I had a speckled effect, which i suppose is quite nice in it's own  duck egg way, but not really what I was after this time.
coloured chocolate
Another tip, which I only found by trial and error... Do not get any water in with the chocolate! I didn't dry my dish properly and it completely destroyed my fourth batch. I nearly only made 3 lines and had to make an emergency trip to the shops!

Just for the fun of it, here is a space invaders GIF Chris and I made. We just couldn't resist. Enjoy!
Space invaders chocolates

Laura xXx
Read More

Thursday 18 October 2012

DIY Aztec Rings

DIY Aztec Jewellery

I've seen a lot of tutorials recently that use nail varnish instead of paint. I think this is a great idea for small projects, mainly because I've already got lots of nail varnish colours I love!

The other day during a clear out I came across these rings that I had been hoarding. Now I don't think they are actual rings, well , they are rings of some kind but just not meant for fingers. Actually I don't really know what they are. They came as part of a haul I brought home from the dump, it was a massive box of brand new buttons, and these rings were hidden at the bottom.  I was about to throw them away in my clear out frenzy, when I realised that some of them fitted my thumbs and middle fingers. 'Perfect opportunity for a DIY' I thought.
Design your own rings
Here's what you will need-

  • Your choice of nail varnish colours
  • Some sort of rings. Can be wood/metal/plastic old or new
  • Nail art pen
I set about finding a selection of nail varnish colours that I liked. I painted the thicker rings the colours I had chosen, then used a black models own nail art pen to draw the designs. I also painted the thinner ones in plain black and white. (The colours I used were all either Rimmel, Barry M or Models Own colours. You might notice my nails are painted the same colours!)

Aztec style rings
I'm not going to lie, it did test my patience trying to paint these things. I kept trying to paint them or put them down when they weren't quite dry, and they would either get messed up or end up stuck to the paper I had put them on. Lesson learned, be patient!
Aztec style rings
In the end I found the best method of painting them was to use a piece of double sided sticky tape folded over on itself several times. I  stuck one end of this to the ring then left a  bit sticking out the end, so that when I was finished painting I could stick it to a piece of paper and it would hold the whole ring upright. Otherwise you can just hold it till it dries,  but that takes a while!
Design your own aztec jewellery
I'm really happy with the end result though, and if you just wanted to make one or two they would take no time at all! They look cute just piled up on my dressing table too. Now what else can I find to paint using my nail varnish collection...

Laura xXx


Read More

Monday 15 October 2012

Laura's Super Healthy Raw Chocolate Mousse

Raw healthy chocolate Mousse
I have really wanted to try this out for some time. Chocolate mousse made using avocado and other completely raw ingredients! 

Doesn't it sound fabulous, the idea of a healthy dessert! Although I was excited by the idea, I couldn't quite see how it was going to taste like the real thing, but it sounded too good to pass up and I eventually came up with a recipe of my own by combining several I had seen online. 
Raw chocolate mousse recipe

Ingredients
  • 3 Small Avocados
  • Beans from a Vanilla pod
  • 75g virgin coconut oil
  • 100g Raw Cacao powder
  • 150g Agave nectar
Mix everything together well in your blender until it forms a smooth paste, then dish up and chill for an hour or so. I decided to top it off with a few blueberries. The recipe made enough to serve 4 people. Just a little more than pictured below. It is quite rich so you don't need a lot!

Raw all natural chocolate mousse
It was absolutely delicious! Chris even said it tasted exactly like the usual cream based mousse I usually make, and I would agree that it wasn't too far off! What a revelation!

It was so simple to make too, and doesn't require too many ingredients, which is a pet peeve of mine especially with 'raw' recipes. I am looking forward to making this again in the future.

Laura xXx
Read More

Wednesday 3 October 2012

Bringing the outside in

Ugh, hasn't the weather just been disgusting recently?  Well it certainly has where we are, and I haven't much wanted to venture outside.  The nights are closing in and it's getting chilly! It's only 8:30pm as I write this and I am already snuggled up in my new PJ's and slippers. Of course it doesn't help that we currently don't have a roof on the house, but then again its quite exciting, a bit like camping in a massive tent with walls!? 

Ok, i've clearly got cabin fever!  I've been spotting some cool ways of bringing nature back indoors and I thought I would share them, for my own sanity if nothing else!

Nature Inspired Jewellery
I love this cute living terrarium necklace by Brooklyn based jeweler With Roots
Whale Plant Pot
Earthseawarrior  has some super quirky artifacts. I say artifacts because I have no idea what to call these! They are basically air plants potted in various strange and ingenious ways. I have a phobia of whales but I think this little guy is pretty cute!
Twig Terrarium
This is my favorite. Twig Terrariums  specialize in moss terrariums and other small worlds. I love the idea of having an entire world in a glass pot!
Twig Terrarium
A prisoner in a gumball machine? Genius!
Zombie Twig Terrarium
This one is kind of terrifying, and I'm not sure I'd want it in my living room, but I'm a huge zombie fan so of course this one had to feature! Plus it's halloween soon and its' time to get into the spirit!

I hope you enjoyed todays post. Chris is away tonight so I should have a chance to get on with some more engagement party planning! Hopefully after the party on sunday I will be posting more regularly. I have loads of ideas from the party that I want to share with you! 

Laura xXx
Read More
Related Posts Plugin for WordPress, Blogger...
Powered by Blogger.

© 2011 Wrapped Up In Rainbows, AllRightsReserved.

Designed by ScreenWritersArena