Monday 30 July 2012

Classic Movies - Gentlemen Prefer Blondes

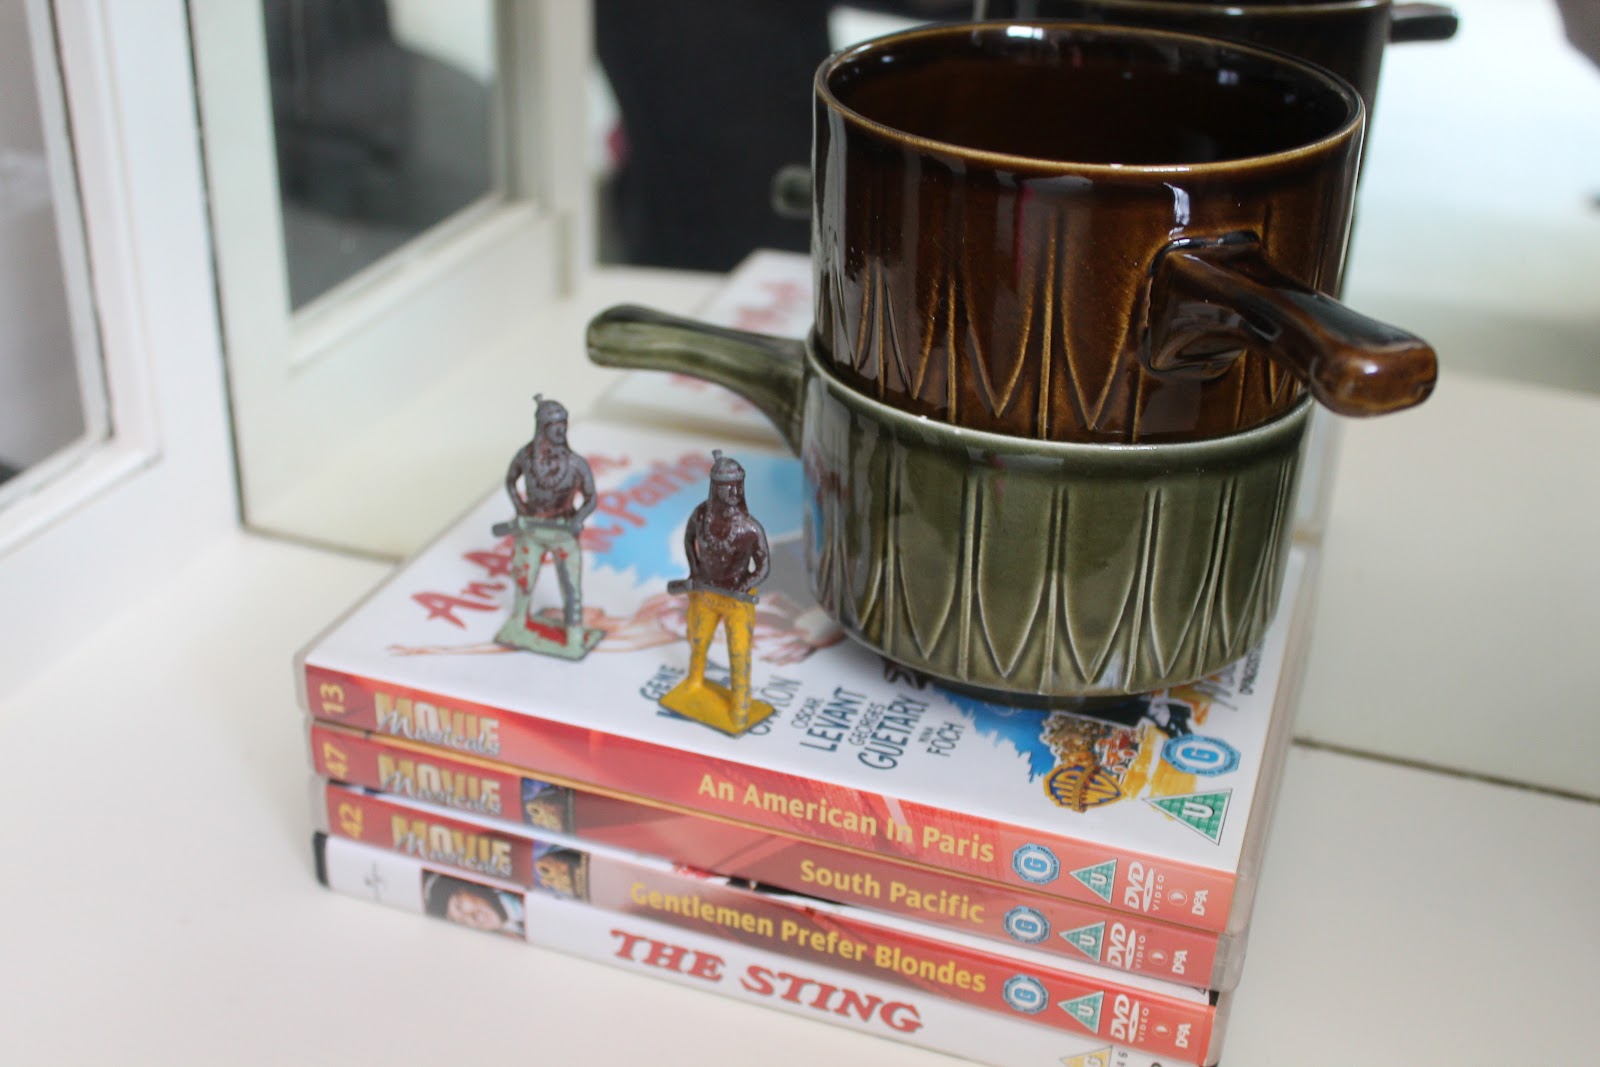
You may have noticed on one of my recent adventures I purchased 3 films - all classic musicals from the 50's. I am loving classic movies at the moment and thought I would do a little review for each one. Today I'm featuring Gentlemen Prefer Blondes. 

I'm not sure why this movie was given this title, given that both the brunette and the blonde seem to get quite a lot of attention! Having said that, Marilyn Monroe does look stunning! I actually can't quite believe she was a real woman, she seems beyond perfect!

Gentlemen Prefer Blondes

Actually I have timed this review pretty well as the film features the entire men's Olympic swimming team in several of the musical numbers!

The movie revolves around Lorelei Lee (Marilyn Monroe) and Dorothy Shaw (Jane Russell) who are taking a trip to Paris. Unknowingly they are being pursued buy a  private detective hired by Lorelei's suspicious Father in law to be. The women receive much attention from the men on board, and silliness ensues!
Marylin Monroe and Jane Russell
The women's outfits are gorgeous, particularly the one above worn by Marilyn. If only we had an excuse to wear such glamourous dresses these days!
Marylin Monroe and Jane Russell

If you haven't heard of this film before I am sure you would recognise it for it's classic show tunes 'Diamonds Are A Girls Best Friend' and 'Bye Bye Baby'. You can always have a good singalong to those ones!

I thoroughly enjoyed this film. Perfect for a rainy sunday afternoon! Kind of makes me want to go back in time though. If I had to pick an era to time travel back to, it would probably have to be the fifties. Of course, I would expect everyone to burst into song at various intervals throughout the day, but that's not too much to ask is it!?

Can you recommend me any classics to watch? I'd love to know which ones you enjoy.

Laura xXx

Read More

Saturday 28 July 2012

Pip Update - Tackling the floor

We have been super busy with Pip these last couple of weeks. We have spent a couple of weekends and a couple of evenings at my parents completing various jobs. I am happy to say he is coming along nicely! I'm going to split up the photographs into various installments, today I am going to show you what happened when we attempted to lay a new floor down.

All we really wanted to do was to replace the old, tired black vinyl tiles with nice new checked blue and white lino! When we ripped the vinyl up we realised the layer of wood underneath was a little damp and would probably need replacing - so we pulled that up. Then we got to the main layer of plywood at the bottom...Uh oh! This was damp too! So my Dad rushed off to the shop to buy some new plywood whilst we set to work tearing up the old flooring.
Whoever had laid this floor was a bit of a Frankenstein by the looks of it!
In fact everything seemed to have a billion screws/bolts and staples in it. We also took down the shelf at the back of the van as we decided we could put something lighter in instead.
Everything in this pot came out of the van. They were certainly a bit screw-happy! I bet that's made the van a lot lighter in itself!
So, once we got the flooring up there was a layer of insulation, and we cleared that away to reveal a bit of a rusty mess.
Luckily I think we discovered it just in time. My dad wire wheeled all of the rust, then painted some magic paint on to slow the rusting process. (Don't worry, we figured out where the leak was coming from and fixed it, so we shouldn't have the same problem again, fingers crossed!)
We then used the wood we had pulled out as a template for the new floor.
And then we made a lot of noise!
I varnished the edges of the wood so that it wouldn't be susceptible to getting damp again.
And then we bolted it all back in!
This is everything we pulled out of the van. Yikes! Chris had fun taking this to the dump ... not!
We did actually fit the new lino in too, but you'll have to wait for that. I didn't take any proper pictures and now we have carpet covering it to protect the floor whilst we are still working on it.

My 2 weeks off work starts on friday and we are planning to get it finished at the weekend. Hopefully we will be taking Pip on his first proper road trip early next week! Lots to do, we'd better crack on!

Next time I'll share photo's of us making a new bed/chair.

Laura xXx

P.S If you have any suggestions of where would be nice to visit, i'd love to hear them!


Read More

Monday 23 July 2012

Hand Made Cards

Today I thought I would share something with you that is money saving and is also good fun! After my post about my friend Kate's Birthday and the card that I made her, I decided it was time to let you in on my secret life of card making!

Birthdays, Mother's Day, Father's Day, Anniversaries, Valentines Day, Weddings, New Babies and Christmas! Surely the pennies have got to add up!

I refuse to buy cards, and instead, make my own!  I know this sounds like it's going to be a bit of a faff, but really it can be as simple or extravagant as you want it to be. Here are my tips for stress free card making.
  • Buy a  packet of blank cards. I bought a set of 50 brown, recycled cards with envelopes from The Range for £5.99.
  • Buy a small block of letter stamps. You can get sets for just 99p! You can buy these from Dunelm Mill or Hobbycraft. That's them in the picture below, nearest the camera.
My bits box
  • Buy an Ink Pad - You can get these for about £1.99 from Hobbycraft or Dunelm Mill too.
  • Buy a roll of double sided sticky tape.
  • Keep a collection of coloured or pretty papers.  My collection includes old wrapping paper, music sheets, sweetie bags and cake wrappers!
Once you have all of this it will tide you over for a very long time. The stamps are so easy and you can make something look professional and personalised with very little effort.

Below are some of the designs I have made over the last year or so.


DIY cards

This was a birthday card for a work colleague. For this design I used an old atlas. I Youtubed how to fold an origami crane, and stuck it on the front. Then I did the same for a dog and popped this little fella in as a surprise.

Card Ideas

As you can see, this was for my Grandad. I found a picture of an old map online and printed it out, then I Googled how to fold the planes. They are just blue tacked on so that he could actually take them off to fly them!

DIY card design ideas

You can just about see this one, it was a Birthday card for my Boyfriend's sister. But I think it would make a nice valentines day card. Again, I googled how to fold an origami heart.

DIY card design ideas

This was for a friends Birthday. The pretty lace-style paper is actually a wrapper that came off of a cupcake. The buttons were from my collection, I thought she could make use of them if she wanted to.

DIY card design

These were the cards I gave out for Christmas last year. I made my own stamps using rubbers and a craft knife. (Maybe that will be a good tutorial for another day) Do you recognise the stamp in the shape of the present?

Make your own cards
Here is the Mothers day card I made for my Mum this year. I don't know if you can tell but I made mini bunting in the shape of hearts. It took bit of time!

I hope this has inspired you to try out card making if you haven't already. Do you have a particular style when card making?

Laura xXx

Read More

Thursday 19 July 2012

Celebrating Kate and Mole's Birthday!

Hand made Birthday Card
On Monday it was my very good friend Kate's Birthday, and it had also just been her Boyfriends Birthday too. So, how to celebrate?

I like to make my own cards and I decided to draw a picture of us together. I trawled through the facebook archives and found a nice one of us at Bestival dressed as Trekkies! I am amazed at how well this turned out really, my drawings can be a bit hit or miss! And i was brave and drew the whole thing in Biro. Admittedly I look a bit like a man in drag, but Kate looks lovely as always, and thats the most important thing!

Next on the list of ways to celebrate was the glaringly obvious Rainbow Cake!
Rainbow Cake Recipe
My first task was to find a recipe for white cake. That is cake without egg yolks. As normal cake is kind of a yellowy colour the food colouring would not come out as pretty. In the end I settled on a recipe I found at Divine Baking (I just didn't do the lemon curd filling).  I made the mixture as the recipe says, then just separated into 3 bowls and coloured each using a different food colouring. Then I filled the cake tins with a layer of colour at a time. I use Wilton Food Colourings and I bought them from Here

Finally I had to find a recipe for Chocolate Butter Cream Icing. I found a simple one which just asked for:

225g butter
450g Icing Sugar (Although I accidentally used Caster sugar instead! Whoops! Tasted fine though)
4.5tsp cocoa or 125g melted chocolate
9 drops vanilla extract

Below is what the cake looked like when I evened out the top by cutting off the top with a bread knife. Pretty!
Mulitcoloured Rainbow Cake
Aside from accidentally using caster sugar, I found there was WAY too much of it! (Maybe because it was meant to be icing sugar) Luckily I noticed before I put it all in, so I just kept some back. I then just dolloped it all over the cake (there was still way too much mixture!) and here is the finished product...
Rainbow Birthday Cake
And here we are devouring it...
Rainbow Cake Recipe Yummy Cake Rainbow Cake Rainbow Cake
It actually tasted really good! It was my first try at a proper cake ever so I was very pleased. Kate took the rest of it to work the next day and apparently it went down very well! Blooming good job too because it took me about 4 hours to make it!

Oh, and because I am in a good mood due to the copious amounts of sugar, I shall leave you with the original photograph my card was based on :)

Have you celebrated any fun Birthdays recently?
Me and Kate at Bestival

Laura xXx

Read More

Tuesday 17 July 2012

Pip Goes to visit his Grandparents

We have officially spent our first night with Pip! Ok, so we were just camped out in my parents driveway, but that still counts as camping right?

It started off well, comfy and warm despite the raging gales and rain outside. But early in the morning things took a turn for the worst. What is that incessant 'drip drip dripping'? Well it turned out that the skylight's sealant was coming to the end of its days and Pip had sprung a leak!  But no matter, we were going to rip the ceiling out anyway, so we will just have to make sure we re-seal it before we put it all back together.

Saturday was spent coming up with ideas for the interior and doing the most basic 'tidy up' jobs in the van. One of the previous owners liked stickers a lot! Time to whip them all off...
I was really impressed with how nicely the dash came up. You can see all the stickers on the 'before' picture below. The stickers came off easy enough with white spirit, but it was all really discoloured. Turns out that can all be fixed with a bit of 'Back to Black' and some elbow grease! Hurrah! 
We also managed to get that pesky cooker unit out so now we have a bit more space. Thats my Dad below. He's pretty essential to the whole makeover process because we don't know what the heck we're doing!
We have since sorted out the skylight problem and are now getting on to the good bits!  Hopefully off to my parents again this weekend to start making some big changes :)

Laura xXx


Read More

Sunday 15 July 2012

A Song For A Sunday

Good morning lovely readers! I've woken up early(ish) this morning to read some of my favourite blogs and to discover some new ones too!

I am pretty out of the loop when it comes to music these days, but I have found a fantastic blog suggesting some brilliant bands. The afore mentioned blog is the lovely Bonjour Mademoiselle! I thought I would share with you all my favourite music video of the bunch, but I suggest you pop over to the blog to find some more hidden treasures :)

Dog is Dead - Glockenspiel Song


Today I'm going to be cleaning out Pip! He had a leaky skylight which we had to take out and re-seal, so he's in a bit of a state at the moment. But don't worry, he'll be ok!  Hope you are all making the most of your Sunday :)

Laura xXx
Read More

Saturday 14 July 2012

Konad Nail Art

I don't know if you have noticed yet but I am gradually getting more and more obsessed with nail art. 
The other day I stumbled upon The Nailasaurus blog. You must check out how perfect this girls nails are, plus she has done a Wolverine design which is beyond awesome in my books!

Anyway, I was watching one of her vlogs and she mentioned nail stamping and Konad plates. I couldn't quite figure out how this worked so I Youtubed it to find out. I was immediately sold and hopped over to ebay to buy the necessary equipment.  
Konad Nail Art
You can see what I bought above.  You can get this all from Amazon - follow the links below to see the cheapest I found.

I also spotted this Konad set which looks A-MAZING! If I could afford that I would be a happy girl!

And here are the results:
Nail Art Ideas
Pretty good hey?  This was really my second go at it, although the first time was just messing about really.  I love the design and once I got the hang of it they came out great. I did find that the designs were quite small, so it didn't quite cover my thumb nail, and you have to be quite precise on the others too.  Also, I'm not sure if you are meant to clean the plate after every single application, because I found the design gradually deteriorated as I went along. I had to get Chris to clean it so that it was sharp again! 

But all in all it was a thumbs up for Konad!
Konad Nail Art Inspiration

 Laura xXx


Read More

Wednesday 11 July 2012

Treasure hunting

On Sunday we decided to brave the weather and pop to or local car boot to see if we could find any van accessories.  We were after a mirror, hooks, a washing up bowl and anything else that looked useful.

I didn't do very well. I came back with a hoard completely unrelated to campervans, but delightful all the same! 
I've been looking for some cheap classic movies for a while now. I managed to bag myself 3 musicals off of a lady who appeared to own every musical ever made! They are ; An American in Paris, South Pacific and Gentlemen Prefer Blondes.   I also bought The Sting for 50p

The two bowls you see in the photo above actually came from the dump, I got them both for £1!
And finally these awesome lead Indian models. These were a pricey £1.50. I was a bit upset because I had seen a whole pot of plastic Cowboys and Indians which I decided to go back for, but they were gone when I got there. Disaster! 

Oh well, these are probably cooler anyway, I'm just sad they have no Cowboys to play with. I love the colours of their trousers, they are seriously trendy dudes! I have a plan for these, but shhh, it's a secret! Maybe one I will let you into eventually.

Have you guys found any bargains recently?

Laura xXx
Read More

Thursday 5 July 2012

DIY Tutorial - Tea Towel Aprons

DIY Tea Towel Apron Tutorial So, you want to make yourself a personalised apron without all of the faffing? Brilliant, find yourself a pretty tea towel and lets get going!

You will need :
• A (large) tea Towel
• Scissors
• A sewing machine or a good old fashioned needle and thread.

The tea towel has already done most of the hard work for you, now all you need to do is...

1. Cut the arm holes out. You may find it useful to use an apron you already have to judge the correct shape. If not just judge it by eye, but make sure both sides are equal by folding in half.
Make your own aprons
2. Fold the cotton tape in half and pin it around the apron as shown in the pictures below. Try to make it so the ties are even and there is still enough room to get your head through. This may take a few goes but it is best to make sure it sits correctly at this point.
Tea Towel Aprons
DIY Apron Tutorial
3. Simply stitch the cotton tape to the tea towel on both sides, making sure you catch both sides of it and the tea towel in the middle. You can do this by hand or using a machine.
DIY Apron Tutorial
Snip of any loose threads and you’re done!

These are really quick to make. They are much cheaper than buying a pretty apron too. I have been buying packs of 3 tea towels from Dunelm Mill for £5.99, so adding the cost of the cotton tape that is less than £3 per apron! I made Chris' mum a set of 6 for her birthday. As she teaches painting classes I thought they would look lovely hanging up in her workshop. She was really pleased with them, and I was right, they do look lovely!

Apron TutorialDifferent Apron PatternsThese aprons make a great gift
Laura xXx
Read More
Related Posts Plugin for WordPress, Blogger...
Powered by Blogger.

© 2011 Wrapped Up In Rainbows, AllRightsReserved.

Designed by ScreenWritersArena