Monday, 21 January 2013

Outfit Post - Collars and Colours

I thought I'd try something different today, so I present you with my first ever outfit post! I was inspired by my lovely new jumper from Asos, so I thought I would give it a go.

Jumper - ASOS
Jeans - Topshop
Elephant Ring - Urban Outfitters
Shoes - Brantanos
Glasses - Lensway

I must admit I had a bit of trouble taking photos of myself! It was very tricky trying to get a photograph in focus, and I ended up with slim pickings, which is why this post is quite accessories heavy! I think I'll get Chris to help me if I do another one.

Perhaps you can help me out with some tips if you do outfit posts yourself? Anyway, what do you think, should I make it a regular feature?

Laura xXx

Read More

Friday, 18 January 2013

DIY Tutorial Kindle Case and Stand

kindle cover
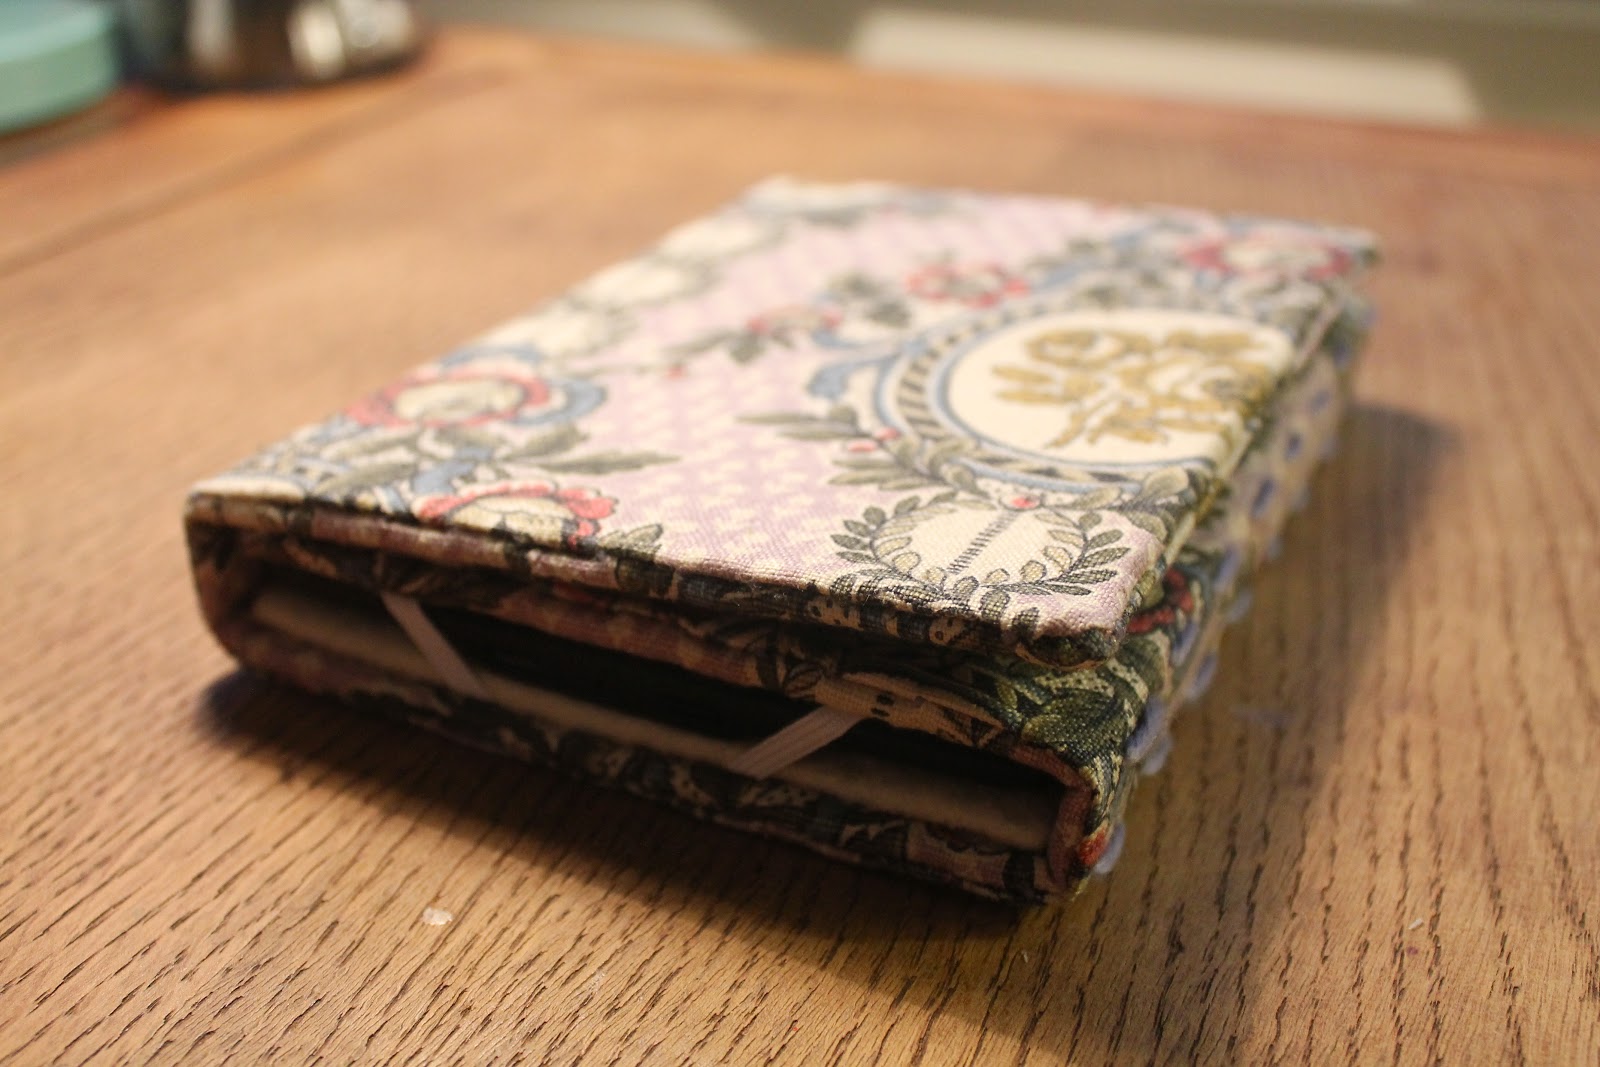
You may have noticed, since I have been banging on about it so much, that I have bought myself a Kindle, yay! Now, I want to look after my new toy, but the cases for it are pretty pricey, so I decided to make my own, and I am really happy with how it turned out. Lucky for you lot I remembered to take photos throughout the process, so you can make it too! I used a similar process to this tutorial I did a little while ago for an iphone stand.
kindle case diy

To make the base

You will need;
  • A piece of material measuring at least 49cm x 38cm
  • 2 pieces of strong cardboard measuring 12cm x 17.5cm
  • 1 piece of strong cardboard measuring 11cm x 17.5cm
  • 1 piece of cardboard measuring 1cm x 17.5cm
  • 1 piece of cardboard measuring 1.7cm x 17.5cm
  • A needle and thread or a sewing machine
  • Velcrow

To make the inside panel with elastic corner straps

You will need;
  • A piece of thin cardboard Measuring 11.5cm x 16.7cm
  • A Glue Gun
  • Felt or a scrap of fabric
  • A long piece of elastic

Making The Base

The base of this is basically going to be an rectangular pocket which we will then slip our pieces of cardboard into. Your card pieces should look like the below. I just used cardboard box card, but the stronger the card you use the better.  Use a craft knife, ruler and mat to cut the correct sizes.With your card ready, you now want to get your fabric and fold it in half with the wrong side of the fabric facing out. Place your cardboard in a row against the fold as below, then draw around the cardboard onto the fabric, then pin along the lines you have drawn, catching both sides of the fabric. Now trim around the edges of the line, leaving about 1 cm around the bottom and the side and a few inches above the cardboard, which will become the opening. Don't sew along the top yet! VINTAGE FABRIC DIYNow you are going to sew along the lines you have drawn. You can use a sewing machine but I just used a needle and thread. To make sure it was the right size I sewed the bottom line, then inserted the card inside the fabric so that I could follow the line of the card when sewing up the side. Below you can see the finished 'pouch'. Now you are going to turn it inside out so that the right side of the fabric is on the outside. Use the end of a pencil to poke the corners out, you might also want to trim the edges of the fabric at this point so that the corners turn out properly. 

Next we are going to re-insert the cardboard into the pocket. The order should go; Large rectangular piece, largest thin piece, large rectangular piece, smaller thin piece, large rectangular piece. In between each piece of cardboard we need to make a hinge. So sew along using the edge of the cardboard as a guide, be careful not to make it too tight or loose. When you get to the end you will need to use a backstitch, making sure the edges are tucked in neatly. See step 7 of this tutorial for a better idea.HAND SEWN CASEWhen finished the base should look something like the below, and should fold up around your kindle.

Making the Inside Panel

Now we need to make something for the Kindle to be held in with. Get your piece of thin card and your felt/spare fabric. Cut the fabric so that it looks like the below picture.
cover kindle diy
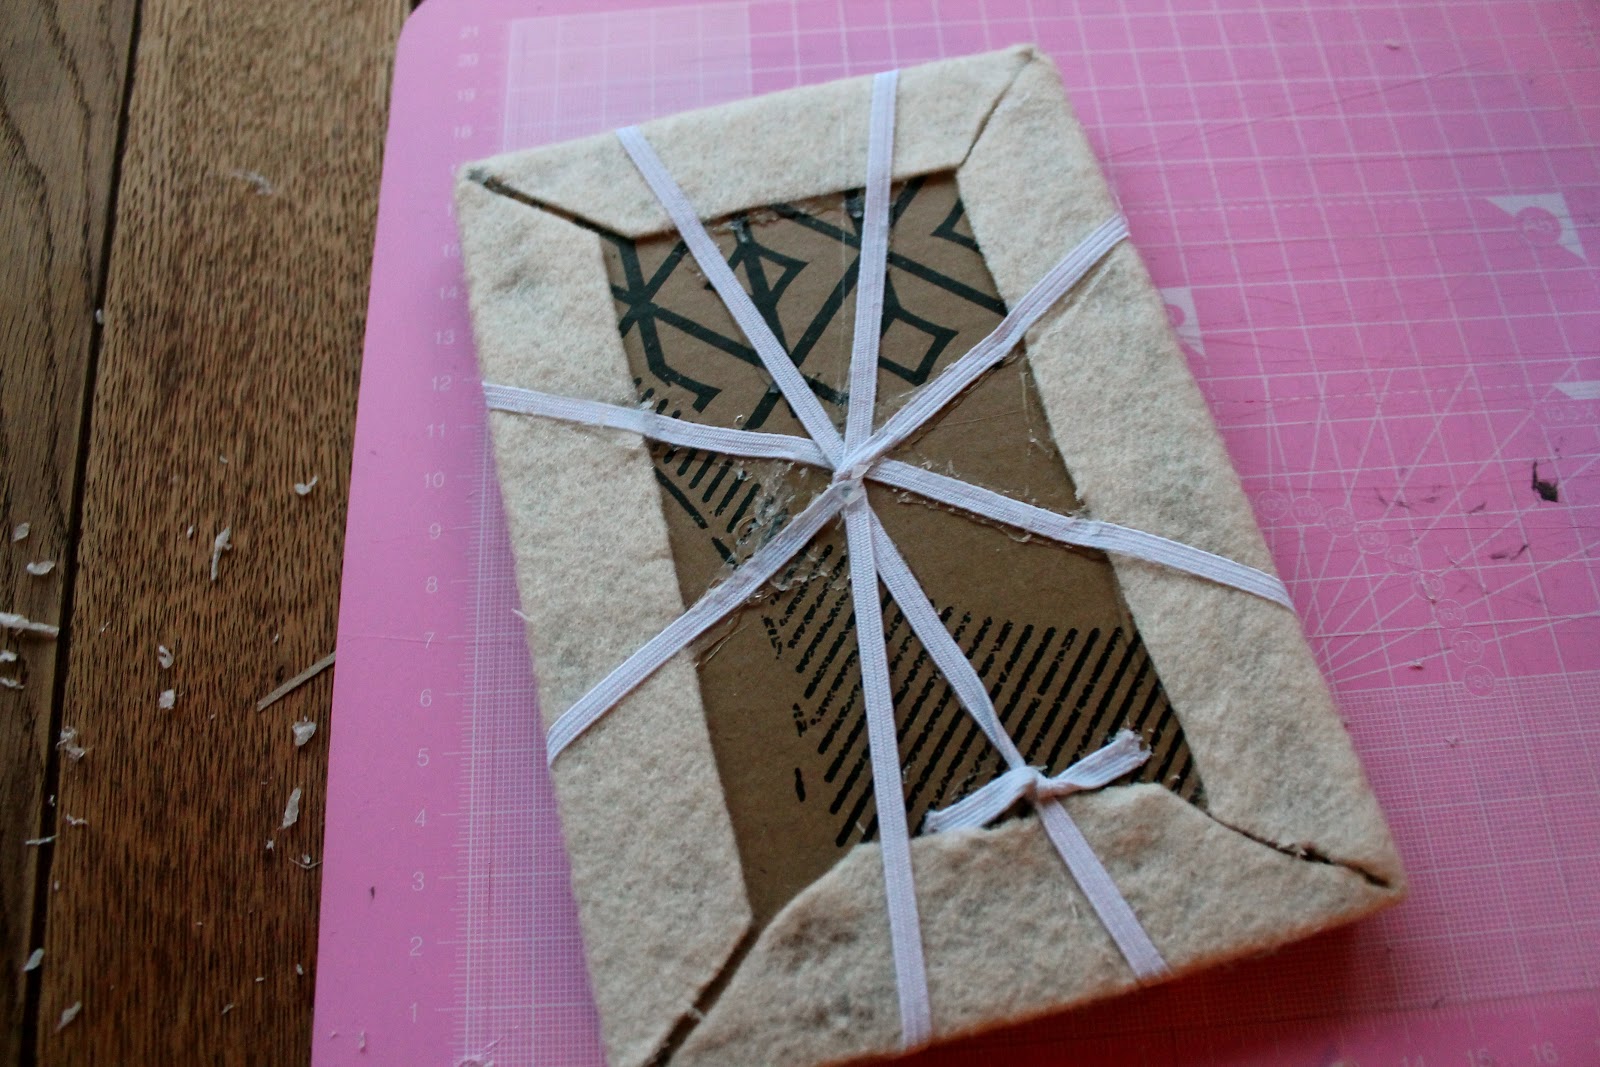
Now you will need to get out the glue gun and glue each side down, pulling tightly to make the fabric nice and taut at the front.
case kindle diy
Here is the fiddly bit, you need to make your elastic corners, so you need a nice long piece of elastic. The picture below shows the back of the inside panel when complete. I have used the glue gun to glue each piece of elastic on the back.
kindle holder diy
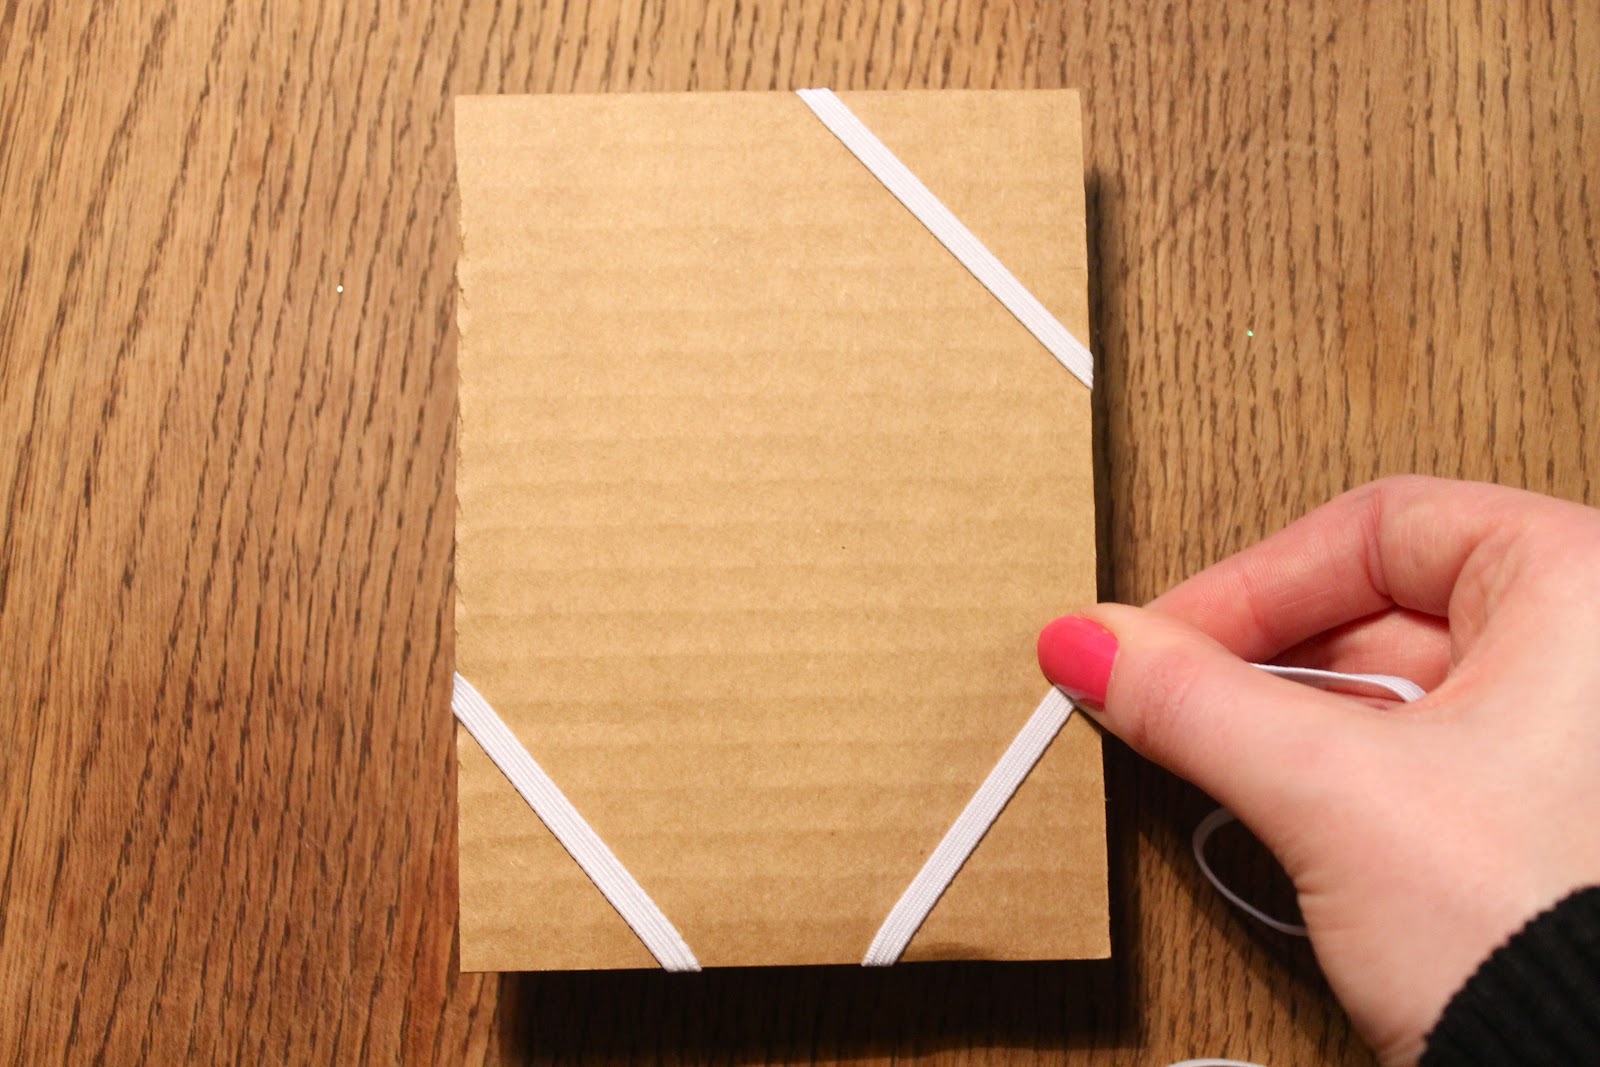
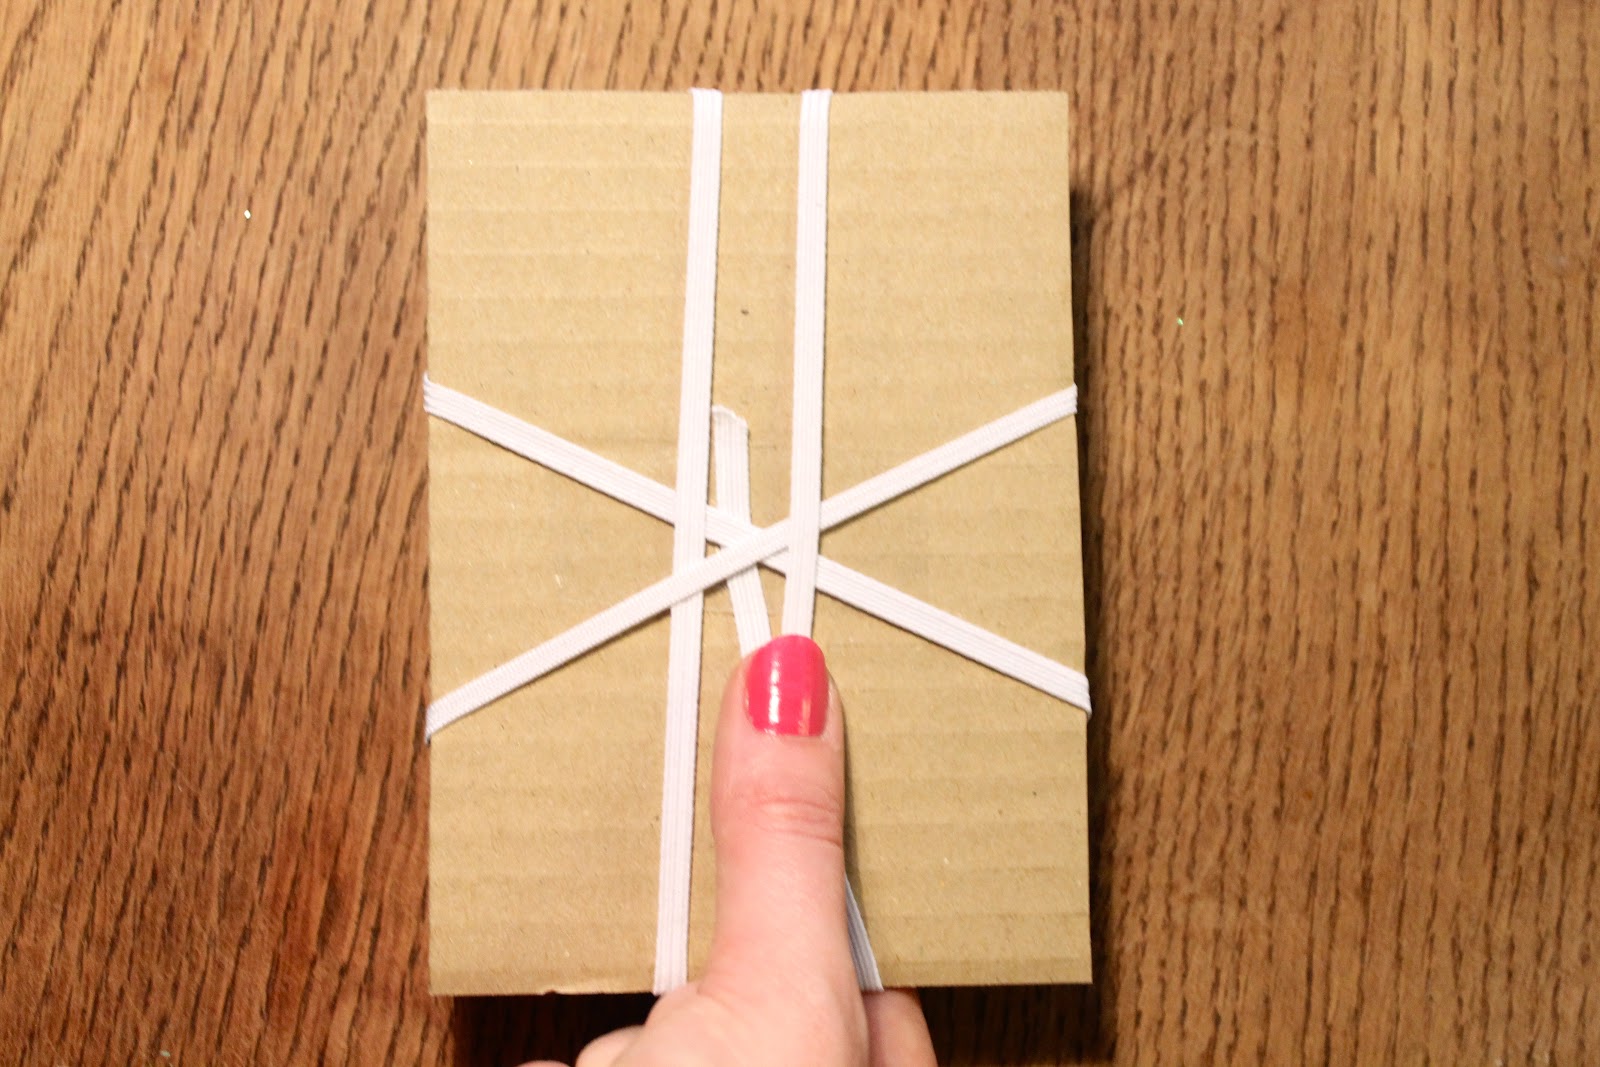
Below is the step by step process to create the corner straps. I forgot to photograph this originally so I just used a piece of card for you to get the gist. Between taking each photo I turned the card over.
You can adjust the corners bit by bit as you go. When you get to the end untape the end of the elastic, and tie the two ends together. At this point you use the glue gun to stick it all securely to the back. Before I did this I placed the kindle in the holder to make sure it all fitted. I actually then left it there until the end of the process, but be careful not to get glue on it! Finally you will need to glue the panel to the middle piece of your base. Just use your glue gun to go around all 4 sides of the rectangle, then place and hold in the middle for a minute until it is dry.
e reader diy case
To finish the whole thing off you will probably want to create a fastening. I just found some velcro, cut it into circles, then used the glue gun to fix it in place.
velcro kindle cover
The great thing about this is that you can stand it up, both horizontally and vertically!
kindle stand diy
I hope you liked todays tutorial, it was definitely one of the most satisfying things I have made. If you have any questions just let me know, I would be happy to help!

Laura xXx

Read More

Wednesday, 16 January 2013

A day in the life...

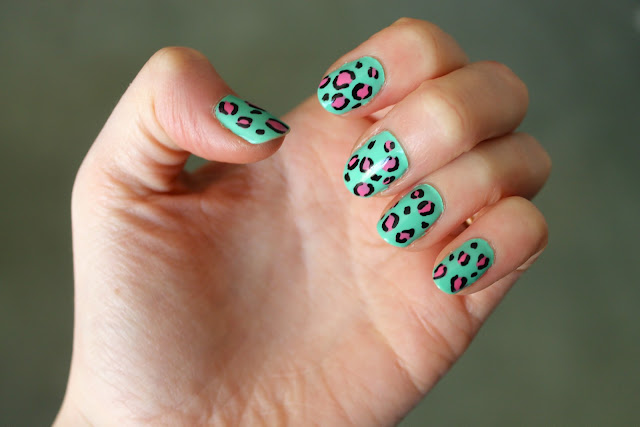
Chris abandoned me on saturday to go on a skiing holiday with the boys in Andora. I have been incredibly jealous. Skiing is pretty much the only sport I am any good at and actually enjoy, so I have been in a bit of a grump.  Anyway, on Sunday I allowed myself a lazy day bumbling about, crafting, painting my nails and reading on my brand new kindle! I didn't venture outside the house once, but it is just as well because the weather was awful! 

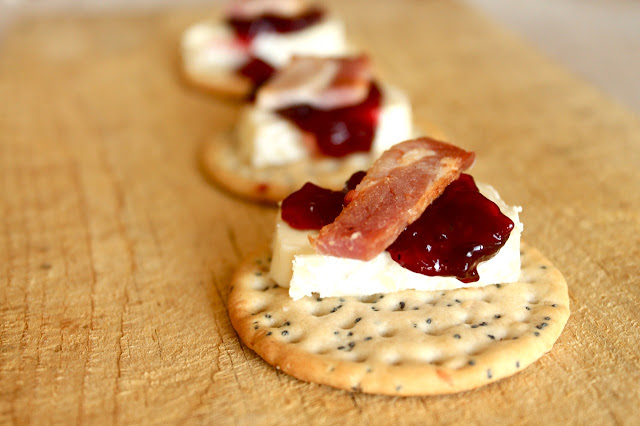
So here are a few snaps of the day which will be fully revealed in later posts...
I am glad it is now Wednesday, mid way through the week, hurrah! And the prospect of having the girls over tomorrow night has cheered me up. Also I have just received my ASOS order for all my new work clothes, hurrah again!

Laura xXx
Read More

Wednesday, 9 January 2013

Easy Canapes - Salmon, Cucumber and Cream Cheese

easy salmon canape
Here I am, back with another easy canape.  I know the holiday season is pretty much over now, but I thought that this was such a good one, I couldn't resist! It is perfect if you are catering to people who are wheat or gluten intolerant, and ideal if you have 'last minute' guests, as it only takes a few minutes to prepare.
Salmon cucumber and cream cheese canape
Ingredients:
  • Cucumber
  • Smoked Samlon
  • Cream Cheese (I used Philadelphia Light with Chives)
Chop up your cucumber into nice chunky pieces. Add a blob of cream cheese on top. Seperate your salmon into nice bitesize chunks, then pop them on top of the cream cheese. Hey presto, your done! This has got to be the easiest one yet and they went down really well at a party we had recently. 
Easy salmon, cream cheese and cucumber canape

Laura xXx
Read More

Monday, 7 January 2013

80's Nails

80's nail artThis nail design is part of my New Years Eve costume. The theme was 1980's so I thought I would pick out some bold and clashing 80's colours and see what happened! The results were surprisingly good!
1980's nail design
Supplies:
  • Barry M - Black
  • Maxfactor Infinity 704
  • Rimmel London Lycra Pro - 600 Peppermint
  • Nail Stickers
  • Seche Clear
  • Seche Vite
Rimmel's Peppermint is definitely one of my favourite colours, but I am running out so I had better buy some more quick!  The pink Maxfactor varnish was given to me as part of a Christmas present, and I really like it! It seems to cover really well, the other day I wore it with just one coat!
1980's nail varnish
Laura xXx


Read More

Wednesday, 2 January 2013

Goals for 2013

I like writing myself lists of things to do, but I often forget about them. So i have decided to write them on the blog so that if I fail at any of them it will be glaringly obvious, hopefully it will motivate me to get them all done!

Here we go...

Buy a house - Why not start with a biggie!?  To get this done my aim is to set aside at least an hour a week solely to look for houses. Have spoken to an estate agents by February, and plan to go and look at a house at least once a month.

Finish Pip - Poor Pip has been a bit neglected since all the wedding planning started. I'd like to have him finished by the summer so we can go away for another lovely holiday.

Plan a holiday abroad - Pip is fantastic, but I think we might need a holiday to a warmer climate this year too.

Get good at cooking again - I have really been slacking on the cooking front recently and would love to get stuck in again. I want to make 1 new meal every week. Chris gave me Jamies 15 minute meals for christmas, so that is a good starting point! This week we are doing a special Chicken salad.

Read more books - My plan is to buy a kindle with my Christmas money, so that should help with this one. I want to aim to read at least 1 book a fortnight. Please feel free to suggest books for me to read to help kick things off!

Plan the wedding - It feels like the wedding is so far in the future that it is quite easy to forget about it, but I want to be well on top of everything, so i'm going to set aside at least an hour a week for wedding planning with Chris. I'd also like to do 1 post a week on my wedding blog.

Have a wardrobe i feel comfortable in - This makes it sound like I want to hang out in a wardrobe ... I don't. What I mean is  I seriously need to get some new clothes and I think I need to spend some time choosing things that look good, are comfortable, and will wear well. It seems so tricky to get all three!

What are your goals for this year?

Laura xXx
Read More

Tuesday, 1 January 2013

December Review

In Life

What a wonderful morning to start the new year on, it is lovely and sunny here! Just a shame I am too tired from last night to really do anything!

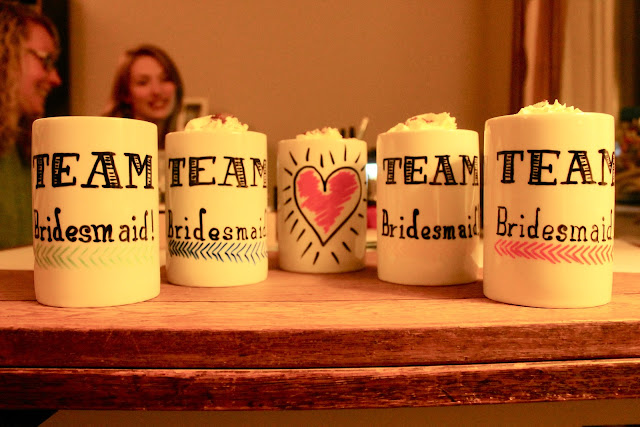
I've had quite a relaxing month as I had a 2 week holiday, and to kick it off I had all my lovely bridesmaids over for a party. You can see what happened here.  We did a little more wedding planning over the month and have even decided to start looking for a house!

What We Watched

Seven Psychopaths - This was great, not really what I had expected but I enjoyed it all the same. Brilliant cast too.
Bridesmaids - Very funny, hopefully I won't get into any of these sorts of situations with my bridesmaids!
The Jerk - My parents told us that we would like this, and we did! It was very funny in an absolutely ridiculous way. A Steve Martin Classic.
Predator - This is one of Chris' favourite films, so I thought it was about time I watched it.
Paul - I loved this! I love all things Simon Pegg and Nick frost, but I didn't manage to catch this when it came out at the cinema.
The Hobbit - This was absolutely awesome. I used to be a real LOTR geek, and this definitely made me want to watch them all again! Hence the next two films!
Lord of the rings - Fellowship of the ring - Awesome!
Lord of the rings - Two Towers - Awesome!

What I Read

I have challenged myself to read more next year, so I thought I would get going early. I'm thinking about getting a Kindle with my Christmas money, so hopefully that will make it easier for me to read lots more. If you have any recommendations of good books i'd love to hear them, I'm interested in broadening my horizons!

The Secret Lives of Dresses by Erin McKean - This was a pretty girlie book, obviously lots about dresses! But I did enjoy it 
The Gunslinger by Stephen King - I'm still undecided about Stephen King. I love some of his books, The Stand is one of my all time favourites, but there are others that I have found to be quite forgettable. Chris started reading the Dark Tower series, so I thought I would give it a go too. The first book is quite difficult to read but apparently they get easier, so I am going to persevere!

In Blog Land

I was very lucky to be asked by Claire of Claireabellemakes to guest post on her blog while she was away on holiday. You can see the post about DIY Stamps here.

I started a new Wedding Blog so that I can document all of my ideas, I am really looking forward to getting stuck in!

I won a competition over at the cookie button! I was really excited when I received an email from Sammy on Saturday to say that I had won. I was feeling really under the weather with a yucky cold, but this totally brightened my day! Especially since the prizes were all so wonderful, and also included a personalised portrait from Chantal from Pony Chops and some hand drawn prints from Beth at Deer Little Fawn - two of my favourite bloggers plus lots of other goodies from other lovely ladies.

My Favourite Posts


Laura xXx
Read More
Related Posts Plugin for WordPress, Blogger...
Powered by Blogger.

© 2011 Wrapped Up In Rainbows, AllRightsReserved.

Designed by ScreenWritersArena