Friday, 30 November 2012

DIY Gift Ideas - Limoncello

Second in my DIY Gift Ideas series is homemade limoncello! Yes I spelt it wrong below, but surely it should be spelt that way, its not made from limon's after all is it!? 
Homemade drinkshomemade limoncello
chalkboard paint
chalkboard paint bottles
Supplies
 • 5 lemons
• 1 Litre of 37.5 abv vodka
• 430g sugar
• A Kilner Jar
• Small glass bottles

Directions
Make sure the jar is sterilized then pour in the vodka, followed by the sugar. Grate the lemons and pour them in too. Give it all a stir then seal up the jar. Store it in a dark place for a few weeks and give it a shake every day to help the sugar dissolve.  Decant into smaller sterilized bottles and you are done!

I used recycled miniature wine bottles for mine. I prettied them up by painting a rectangle of chalkboard paint on the front and tying a little handmade label to the neck of the bottle.

I gave these bottles to my 3 best friends last year, and there was still lots left over for me to drink on New Years Eve! I'm not much of a shot driker usually, but these made delicious shots! A bit like eating a big lemon and sugar pancake without the pancake, and with a ton of vodka instead!

Laura xXx

Read More

Wednesday, 28 November 2012

How I asked my Bridesmaids the big question

I really wanted to do something special for my 4 lovely bridesmaids to be, so I decided to make them each a personal little Bridesmaid Box full of goodies!
bridesmaid boxes
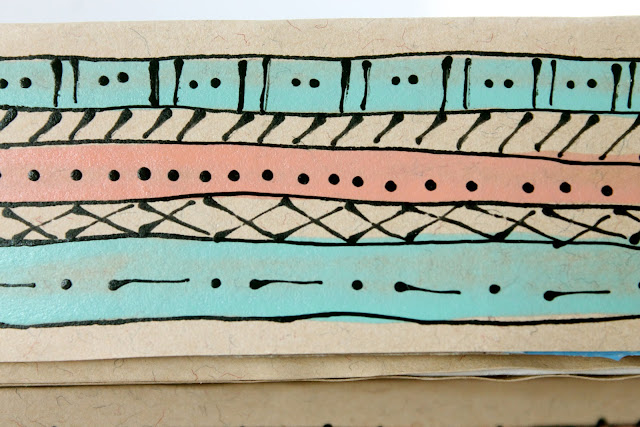
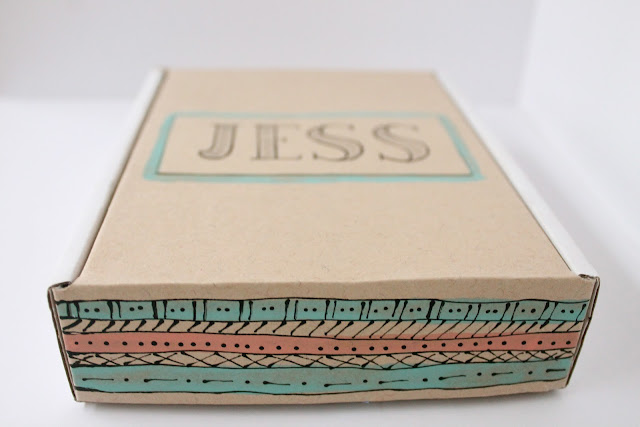
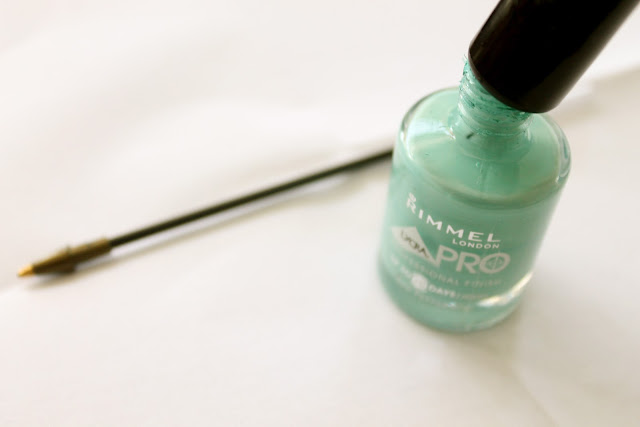
They all started life as the boxes that my contact lenses had been delivered in. Luckily I keep all my boxes and I had just the right amount! I covered parts of them with brown paper, then I used my favourite medium to decorate the sides, nail varnish!
bridesmaid survival kit
I wrote each bridesmaid's name out on the top in a pretty font, do you recognise it?
aztec pattern
bridesmaid box
pretty font
bridesmaid box
bridesmaid gifts
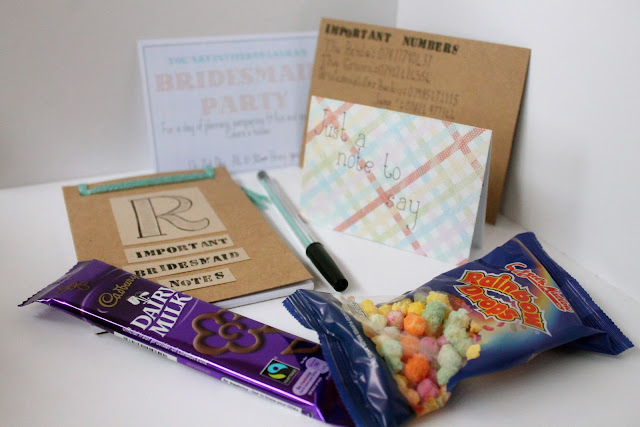
Inside each box was a personalised note book, a matching pen, a packet of rainbow drops, a chocolate bar, a contact list, a soppy note written just for them and an invite to my bridesmaid party! I also made them each an Aztec button, which I thought that they could keep as a little memento.
diy notebook
bridesmaid party invite
We are having the bridesmaid party on sunday and I am really looking forward to it. I thought it would be a chance for my 3 best friends to get to know Chris's sister a bit better and also to get them all involved in the planning of the day without it becoming a chore. 

I also think it is important to celebrate as much as possible, I really want to make the most of the next year and a half, and they will all be a big part of it I'm very lucky to have 3 best friends like them and a wonderful new sister in law to be!

What did you or your friends do to celebrate leading up to your wedding? I'm always looking for inspiration!

Laura xXx
Read More

Tuesday, 27 November 2012

DIY Gift Ideas - Vanilla Sugar

The supermarkets are playing festive songs, the adverts are back on the T.V, and I have a strange urge to hang fairy lights everywhere. It must be Christmas!

I thought I would get into the Christmassy spirit by sharing a few easy gift ideas tied in a neat little blog series bow. First in the series, I bring you Vanilla Sugar!  This is such a simple idea for a gift but is
genuinely useful, a little bit different, and oh so pretty!Vanilla Sugar
Supplies

• 1 vanilla pod
• Sugar
• Kilner Jar or something similar

Directions

Pop the vanilla pod in the jar, then fill it with sugar. Leave it for a few weeks, occasionally shaking. Then hey presto – vanilla sugar. See I told you it was easy! You can pretty it up in any way you like. I chose to keep it simple and used some stamps on brown card to make a little tag.

The sugar can be used to pep up  coffee, or on cakes and desserts. Yum! Also, if you don't cut the vanilla pod, it can be used later for something else, hurrah!

I'd love to hear what you are all making for Christmas gifts.

Laura xXx
Read More

Monday, 26 November 2012

DIY - Brilliant Biros

A really quick and easy DIY today for sprucing up your collection of boring old pens.  You might remember my DIY for Pretty Pens back in June. Well this is a pretty similar concept. I will show you the reason I made these in a post later in the week.
diy nail varnish pen
Supplies;
  • Clear biros with removable middle bits!
  • Nail Varnish
Unscrew the biro and remove the middle piece that holds the ink.  Take your nail varnish and paint the inner tube. You will probably need more than one coat so you will probably want to find something to hold it while it dries. A piece of blue tac will do nicely.
nail varnish pen
diy pen
Then, once it is totally dry, just put your pen back together, and that's it! Now you can have super pretty pens that match your nail varnish on any given day. Hurrah!

Laura xXx


Read More

Friday, 23 November 2012

A day in the life - Bits and Bobs

I would say that I had a lazy weekend, but that wouldn't be true because I was actually very busy! I just didn't actually venture outdoors! I was crafting, planning and tidying all weekend, so we didn't have a chance for much adventuring. Instead I thought I would share a few pics of what I was up to, and mini tour of my room.
glasses
Craft in progress... these boxes are nearly finished now. Do you recognise the pattern?
boxes
This is my collection of letter stamps. I use them for all kinds of crafts from card making to scrap booking.
stamps
 Buttons, I love buttons, everyone loves buttons! This is just the smallest jar i have full of them!
buttons
 I have had these Russian Dolls for years but only recently re-discovered them whilst helping my mum clear out all of our old stuff. They are now sitting proudly in my bureau.
russian dolls
 I got this singer sewing machine from a charity shop for £35, table and all! I love it.
Singer Sewing Machine
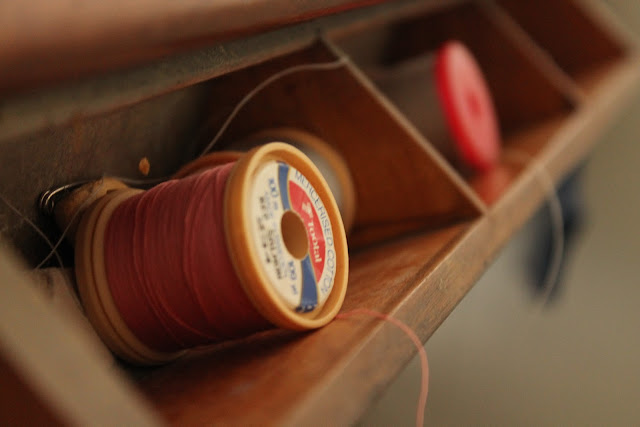
 One of the best things about buying it was finding all of the previous owners treasures in the draws.
cotton reel
I love having pretty books on display. I haven't had time to read any of these since my mum bought them for me for christmas, but they are next on my list!
thomas hardy books
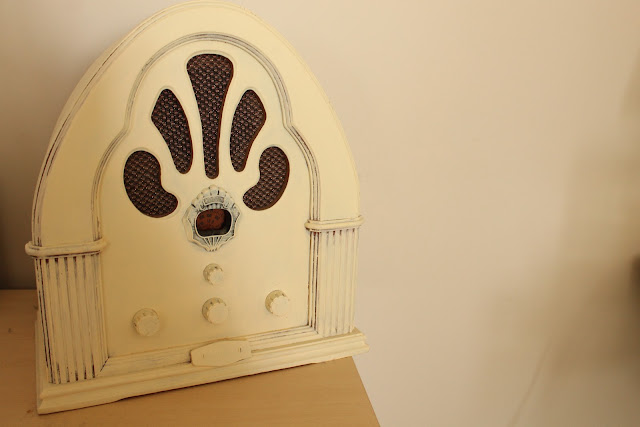
This radio is one of my most useful DIY's. I originally bought it from a carboot sale for £4. It is actually not a real vintage radio, it's a reproduction. I decided to give it a new lease of life by painting it a shabby chic cream. Its best feature? It is also a tape player! 
vintage radio
 I love this typewriter I bought from a charity shop for £7.50. It has ribbon in it so it actually works, but I havent decided exactly what I want to do with it yet. It's such a pretty colour though!
Vintage typewriter

Laura xXx

Read More

Wednesday, 21 November 2012

DIY Tutorial - Aztec Mugs

Whilst browsing Morrison's on my weekly shop, I spotted basic white mugs for only 35p. These mugs were screaming out for a DIY, and I had the perfect one in mind! So I decided to part with 70p and buy 2 to try out my idea. On returning home I hopped on the inter-web and purchased myself some porcelain paint markers . A few days later they arrived and here is the result.
DIY MUG
Supplies:
Just to prove I made these from scratch,  here are the mugs in their original condition.
DIY MUG
To create the pattern I wrapped 2 elastic bands around the top and bottom of the mug as a guide to draw the horizontal lines. Then I drew vertical lines, all different thicknesses.
DIY MUG
Finally I drew pretty aztec patterns in between each line. I let mine dry overnight then went over the patterns I had drawn again just to make sure they were as crisp as possible. You can see in the picture above that the pen can come out a little blotchy in areas. I found this to be a particular problem when I was going over the same areas before it had dried, so best to leave it overnight before trying that! When the pattern was finished I popped them in the oven at 160c for 90 minutes as instructed on the packet. I put them in the oven at the same time I turned it on, and I took them out once it had cooled down again to make sure the mugs didn't crack.
AZTEC PATTERN MUG
DIY AZTEC MUG
DIY AZTEC MUG

I decided to leave a gap with no pattern at the back as I thought it would be tricky to work around the handles.
AZTEC PATTERN
And they match my nails! Perfecto!

Laura xXx
Read More

Monday, 19 November 2012

Aztec Nails

You may have noticed I have been going a bit mad with Aztec recently. First Aztec Rings, then Aztec Buttons, and I have another one coming later this week, so watch this space! I just really like the pattern and the chance to use lots of colours. It is actually quite therapeutic to draw and the design doesn't have to be perfect to look good. So, now I introduce Aztec nails!
I was really worried that my right hand would turn out to be a total mess, my left hand is not the best when it comes to drawing! However, I think it actually turned out almost as good as my left hand, thats it below.
Aztec Nail Art
 Not bad huh!?
nail polish
The supplies I used were;

  • Seche Clear
  • Barry M - Mint
  • Barry M - Peach Melba
  • Rimmel Pro - Aqua Cool
  • Rimmel Pro Beige Babe
  • Models own black nail art pen
  • Seche Vite

Laura xXx

Read More

Friday, 16 November 2012

A day in the life...

This weekend Chris and I decided to go on a mini weekend trip to Wareham in Pip. I have just been given my own area to look after at work all the way through Christchurch to Swanage and Wareham, so I thought I'd better learn where the heck I am sending my lorries! (I work for a waste disposal company and send out the drivers to empty bins... very glamourous!) What better way than a weekend away! 
We set out early on Saturday morning, stopping along the way for breakfast at the service station McDonalds for an egg mcmuffin to really get into the holiday spirit.
I diligently "navigated" the whole way, only stopping to take really important photographs! At one point I made Chris turn the van around because I saw a sign that said 'Antiques' and I could tell it was one of those shops you could have a good old rummage. When we first walked in the post man came in behind us. There was a little girl who I assume was the owners daughter playing on the floor. The postman pointed in awe to the area the little girl was playing in and exclaimed 'A space!'. The little girl replied 'It won't be there for long!" As we walked into the shop I could see what they meant! The place was a maze and it was so jam packed I was afraid to touch anything in case the whole lot fell down. The speciality seemed to be tea sets but they had pretty much anything you could think of. I can't belive I forgot to take my camera in! It would have made a brilliant photo opportunity!
When we got to Wareham we found another lovely shop called ReLoved. I wanted everything in it especially the awesome vintage cabinet in the second photo down.
Next stop... hot chocolate, obviously.
Then we made our way to Corfe Castle. We didn't actually go in but we had a good look from the outside and explored the village which was beautiful.
We payed a quick visit to the 'Museum'. It was tiny but very informative, and we even got to see some fossilized dinosaur footprints.
We had some yummy food at the pub, we decided to share 3 starters. After lunch we had to rush back to the van as our ticket was running out of time. Then we headed to the campsite for the night, we played cards, ate tomato soup, and watched Tron. On Sunday morning we headed to Bournemouth for some shopping, I popped into WH Smith to see if they had Pretty Nostalgic in stock. They did! And here is me excitedly finding the page with my contribution on! Hurrah!
The hot air balloon at Bournemouth always makes me smile. Isn't it pretty? We had a really lovely weekend, and Pip was especially happy because the man serving at the garage said he was 'made in the golden age of life!' The only thing that spoilt the weekend was realising I had forgotten to pack my tea, then finding that my coffee had congealed into some caviar like substance. Oh well, at least we had hot chocolate to keep us going!

Laura xXx
Read More
Related Posts Plugin for WordPress, Blogger...
Powered by Blogger.

© 2011 Wrapped Up In Rainbows, AllRightsReserved.

Designed by ScreenWritersArena